


Search By Product Type

Search Key Fobs by Make


Durable silicone covers for your key fob
Available in various colors and styles, they fit snugly and provide easy access to all buttons.
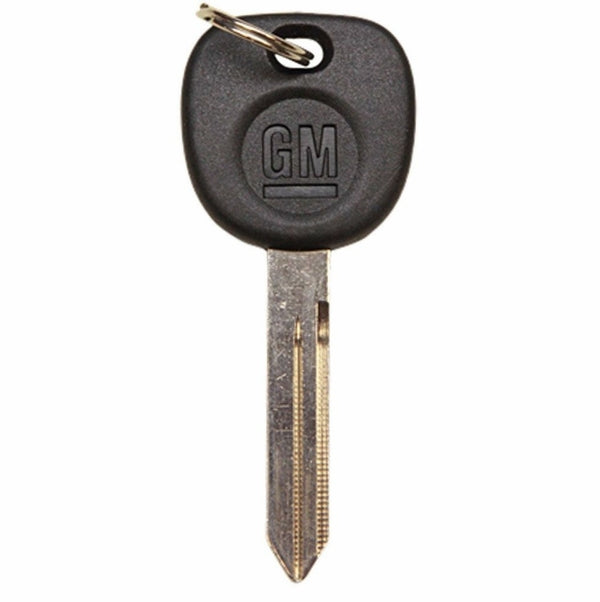
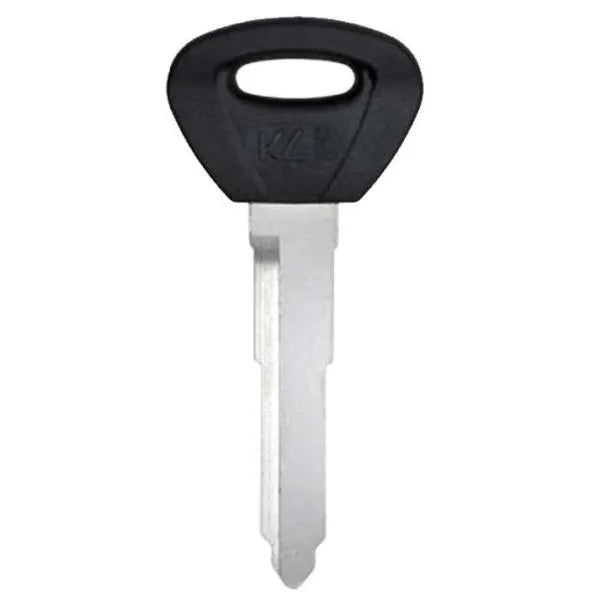
Shop NowHigh-quality plastic replacement cases
Our cases provide a sleek and durable solution to replace damaged or worn-out key fob shells, giving your key a fresh new look.
Shop Now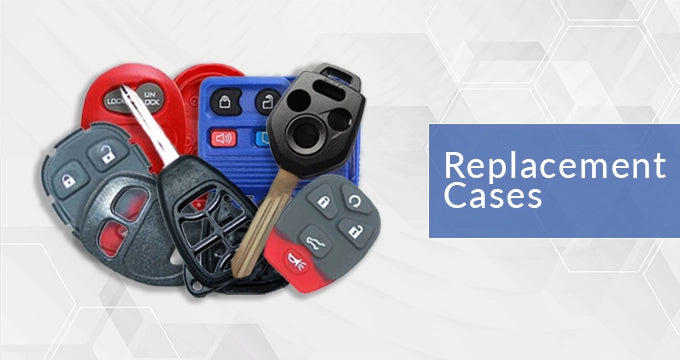
ALL YOUR CAR KEYS AND KEY FOB NEEDS
Since 2003, the founders of Remotes And Keys have served 125k+ customers with car keys and key fob replacement. The reputation is built on offering both genuine and aftermarket versions of most replacement car keys covered by replacement guarantees, obsession with quality control, & providing expert tech support. Car key fob keyless entry remotes are signal tested to ensure successful programming. Extended warranties are available to cover your replacement key fob years.
It’s easy to find the appropriate replacement remote car keys by using the year make model search on the website. If your car remote looks different than the ones we show, most likely you have a remote from an aftermarket system. In that case, search by FCC ID or part number located on the backside of your remote key fob. If you can’t find it, send us photos via chat/email.
You can't lose:
- Replace car key online to save up to 85% on replacement key fobs, custom key fob, & key fob repair.
- Save even more when your vehicle is onboard programmable for keyless entry remote fob and auto keys! When it’s not, use our automotive locksmith database to find a “key shop near me.”